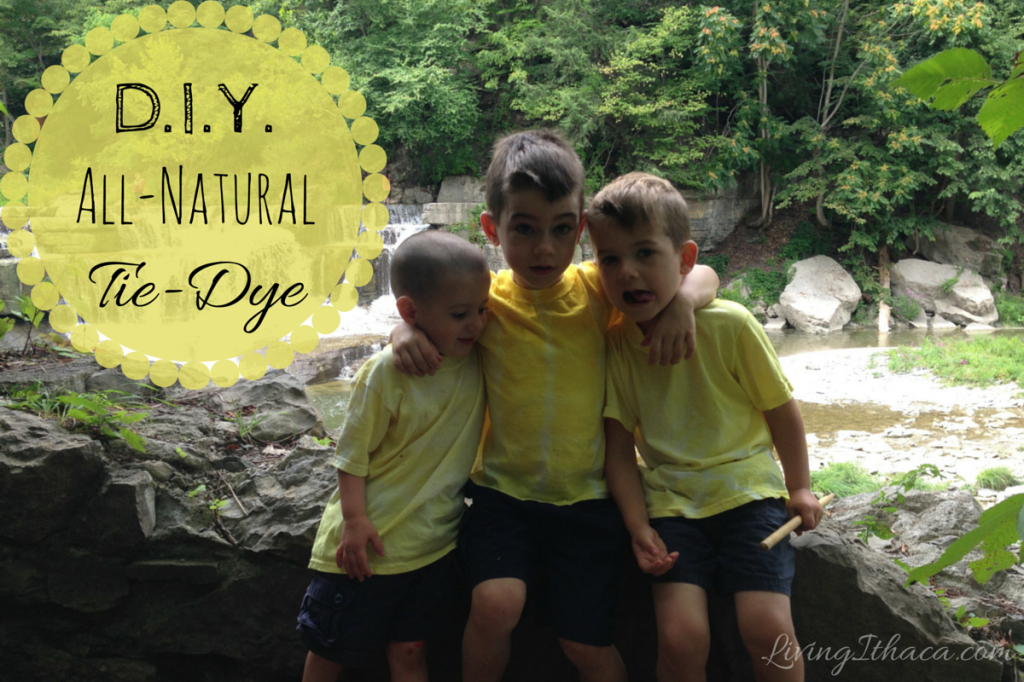
I’ve been dying to tie-dye this summer (pun intended)! Not only are natural or plant dyes better for you than RIT or commercial fabric dyes, they are way cheaper. Personally, I like the variations that natural dyes give, so no two products are alike, and can be very unique.
So what types of plants can you use? Basically, any plant that will give pigment when heated can be used, but the colors may be different than you expect. For example, blueberries do not produce a blue color, but rather a purplish-pink. Therefore, experimentation might be in order if you’re looking for something specific.
However, when doing this with kids, the process is way more important to them, and gratifying to create a work of art that they can display on their bodies.
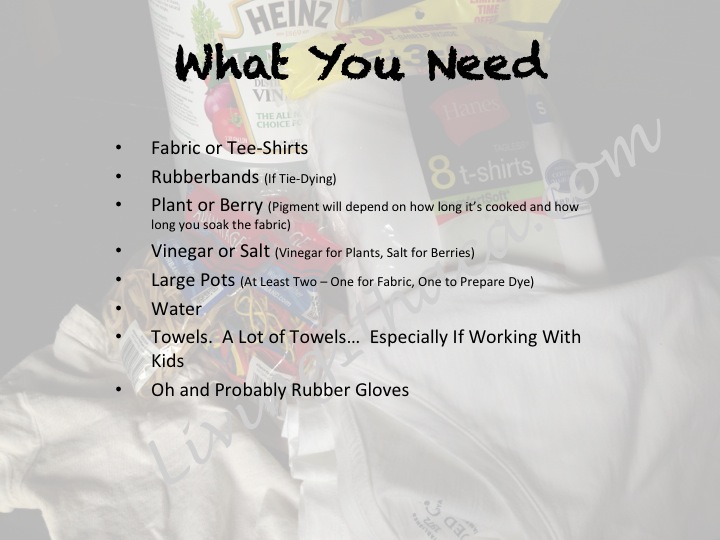
What you will need depends on what you are using for dye. Basically, you need a plant or berry, water, a pot, vinegar or salt, fabric, rubberbands (if tie-dying), and a stove.
For this project I used turmeric, because I wanted a deep yellow for the next project I’m doing. When purchasing spices, I usually shop in the bulk section of either Greenstar or Wegmans, which is usually *way* cheaper than buying any bottled spice or herb when comparing unit prices, and you will use quite a bit. For the kids, I bought a pack of 8 white Hanes tee-shirts at Walmart for $6.48. Cotton fabrics hold dye the best. For myself, I found a long-sleeve tee on clearance at Walmart for $2.00, and I had another stained white tee lying around that I didn’t want to throw away.
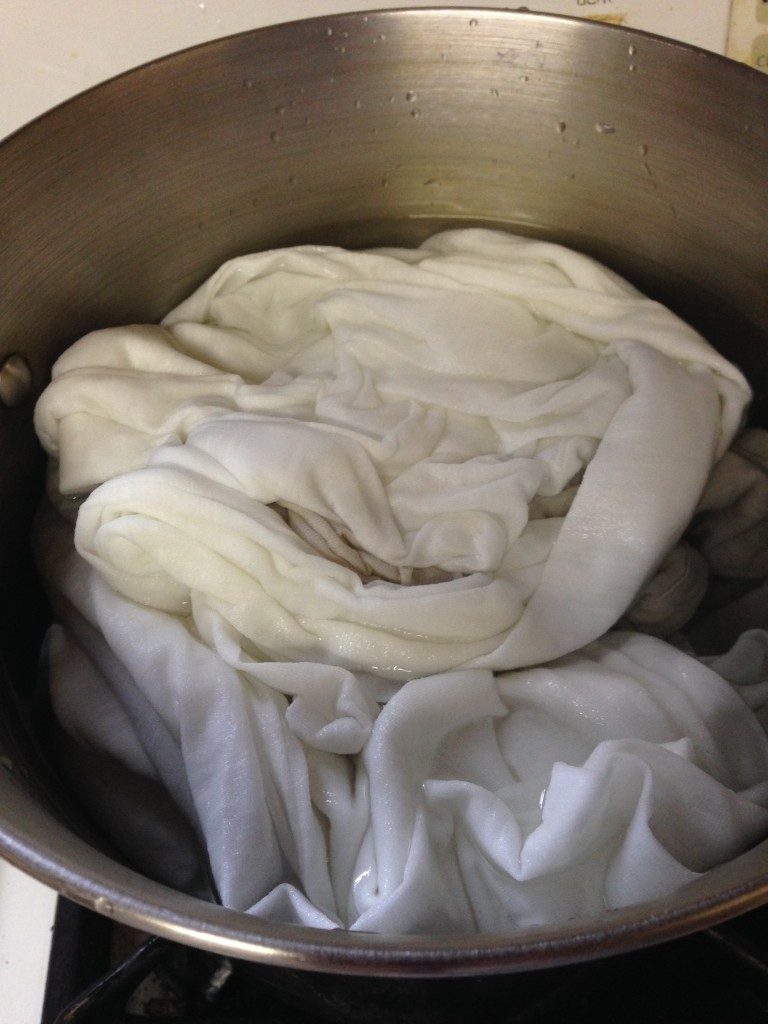
Step One: Prepare the Fabric:
You need to prepare the fabric by boiling with a fixative. For plant-based dyes, you will add 1 part vinegar to 4 parts water. For fruit or berries, use 1 part salt to 16 parts water (like 1/2 cup salt for 8 cups of water). Therefore, in the picture below, I used 1 quart vinegar for 4 quarts of water in an 8-quart stock pot. Add the fixative, water, and the shirts; bring to a boil, then turn off the heat and let soak.
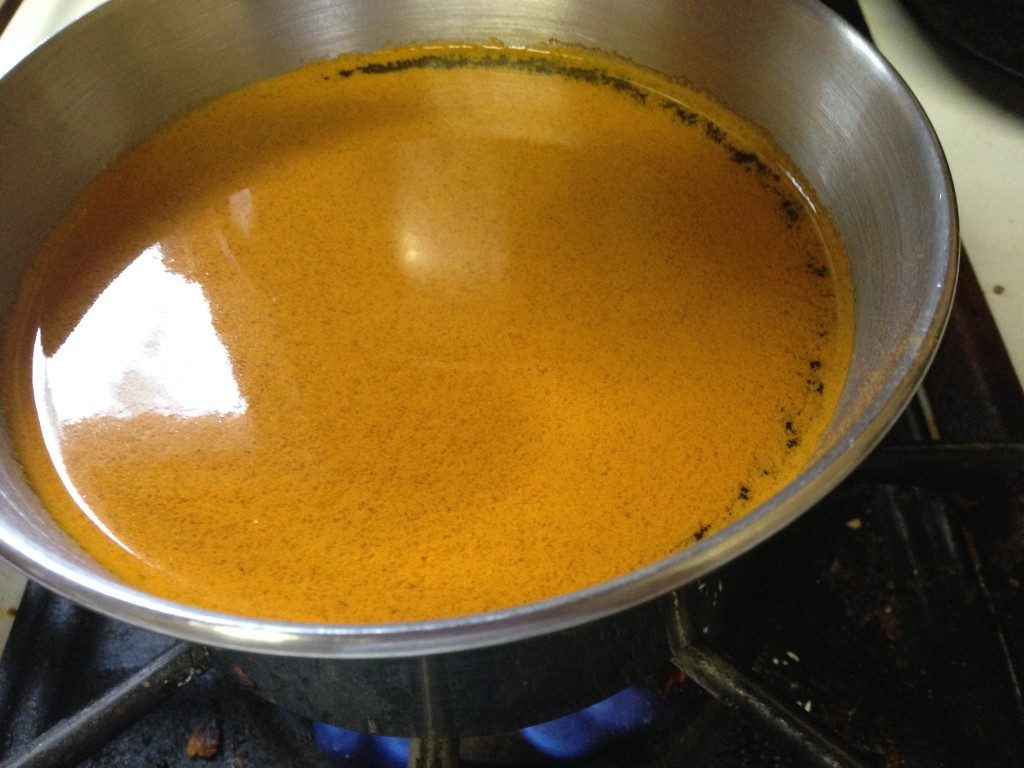
Step Two: Prepare the dye:
The proportions for preparing dye are basically 1 part plant or berry material to 2 parts water. However, for spices, it’s different and turmeric is really strong. You will only need 1 tablespoon spice for 4 cups of water, and will need about 8 cups prepared dye for one adult tee-shirt. I used about 4 cups per child’s shirt – the fabric needs to be completely submerged to properly absorb the dye, so plan accordingly. You will combine the material with the water, bring to a boil, reduce heat and let simmer for about 5 minutes. The longer you cook, the stronger the color.
IMPORTANT SIDE NOTE: LET BOTH FABRIC AND DYE COMPLETELY COOL BEFORE HANDLING THEM!!!
To do this, I used a set of tongs to remove the shirts to a colander and then wrung them out and laid them out separately to cool.
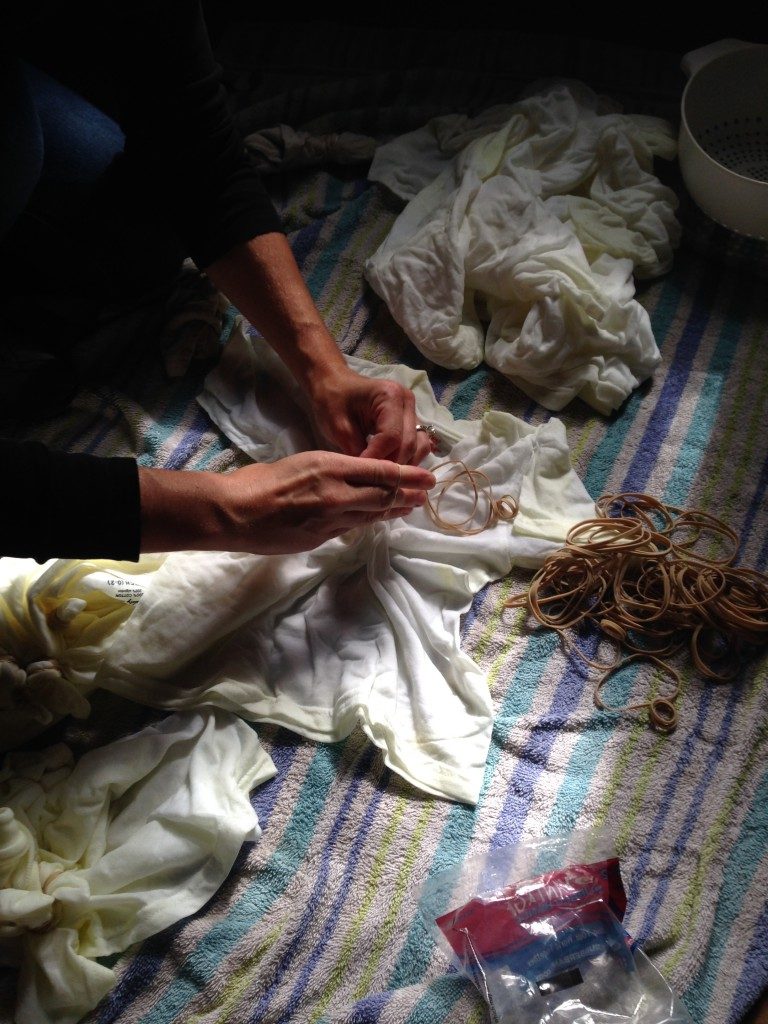
Step Three: Tie the Fabric
Using the rubberbands, create your desired pattern on your shirt – wherever the fabric is folded or tied will remain white. Twisting the fabric can produce a gorgeous spiral pattern, and folding can produce a fanned design, which, when coupled with tying with rubber bands, can give a plaid-effect. The age-appropriateness of the activity depends on their fine-motor skills, so be available to help when needed.
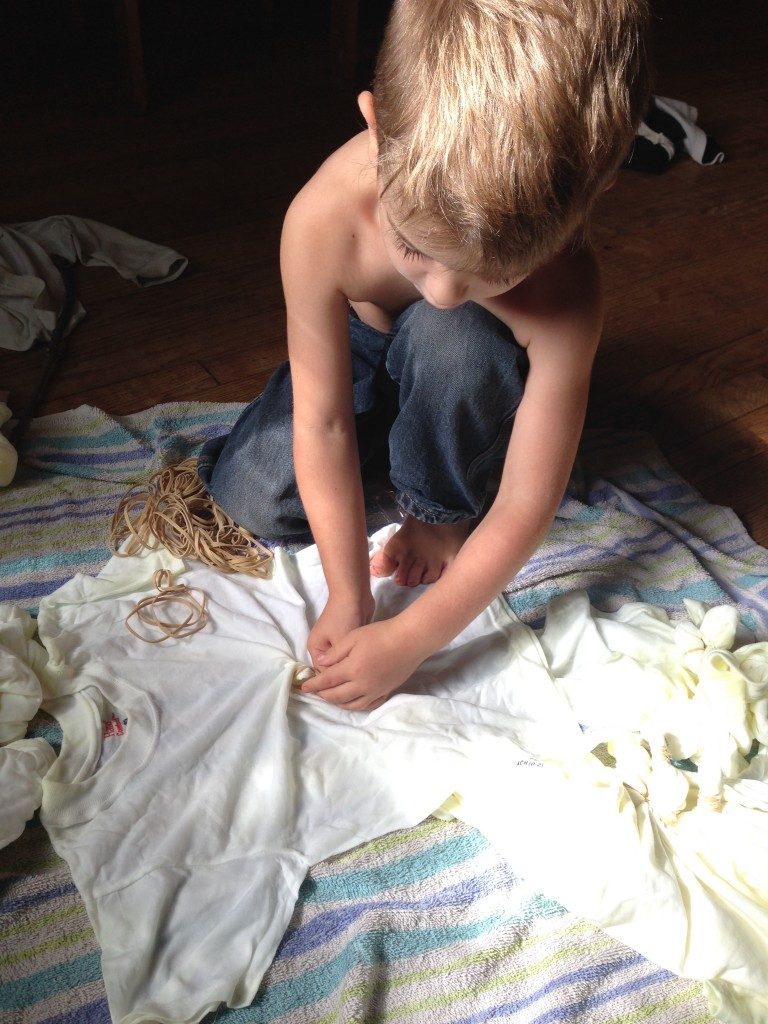
Teddy said he was creating a castle in his.
Then wanted to photograph for awhile.
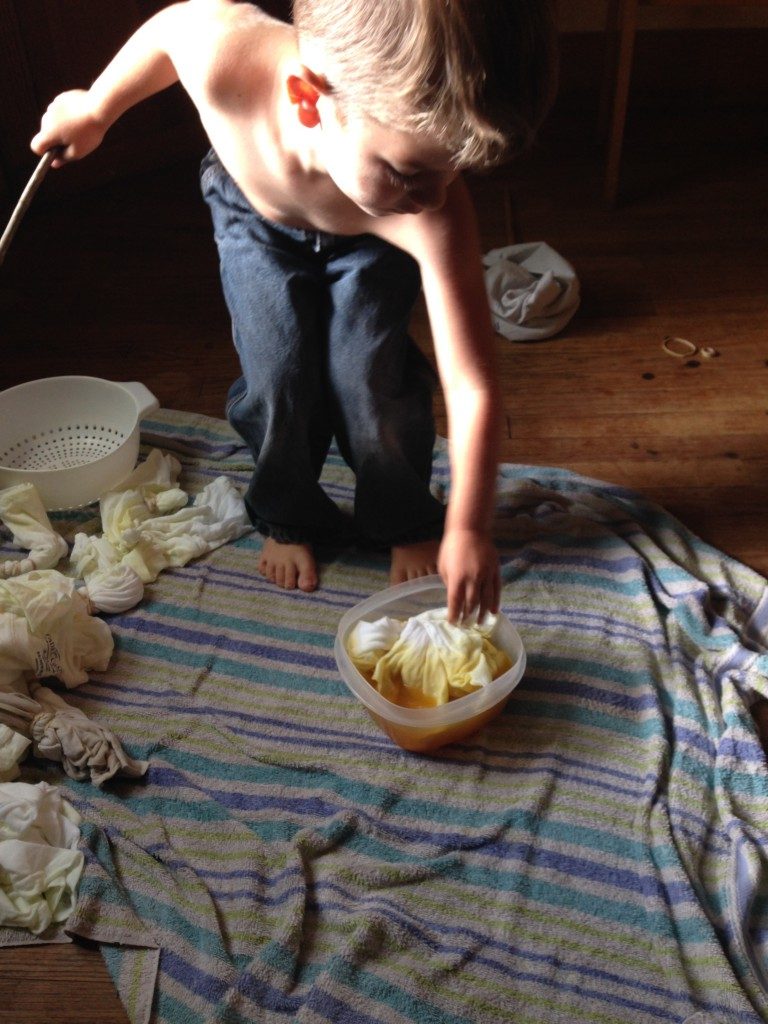
Step Four: Dye the fabric:
Completely submerge the fabric in the dye. Remember to let it cool first. I separated the dye into individual containers so we wouldn’t have to wait. You can also prepare a large volume in a stock pot and soak them all at once. Let them soak for a while – the longer they soak, the stronger the color will be. The dye will fade with each submission, so refresh as needed.
Final Step: Rinse and dry:
When the fabric has reached the desired color, rinse in warm water until color runs clear (this can be done in the rinse cycle on a washing machine or the sink). Remove rubberbands, dry completely and enjoy!